Starting seeds indoors is a fantastic way to get a jumpstart on your garden. Whether you’re looking to grow vegetables, herbs, or flowers, starting your own plants from seed gives you more control over the growing process, allows you to cultivate varieties that may not be available locally, and can save money. However, starting seeds indoors comes with its challenges, and success requires a bit of preparation, knowledge, and patience.
In this article, we’ll dive deep into five essential tips for starting seeds indoors to give you the best chances of growing healthy, strong plants. These tips will guide you through the entire process, from selecting seeds to transplanting seedlings outdoors.
1. Choosing the Right Seeds and Timing
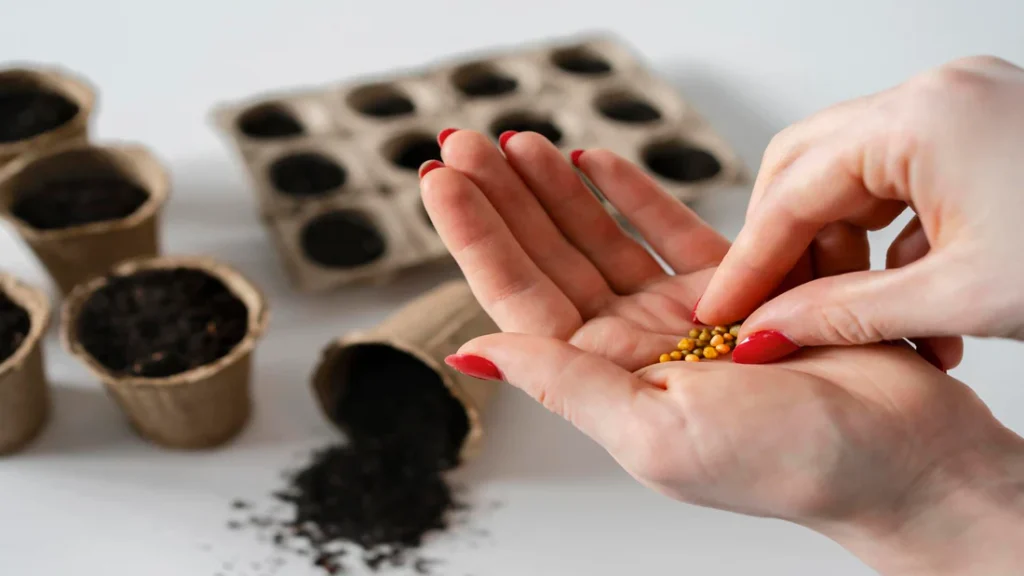
Selecting the right seeds is the foundation of successful indoor seed starting. While nearly any plant can be started indoors, not all seeds are well-suited for indoor environments. To set yourself up for success, follow these guidelines:
- Understand Your Growing Zone: Your hardiness zone (based on the USDA Plant Hardiness Zone Map) will guide which seeds you should start indoors and when to start them. Each plant has its own ideal growing conditions and a recommended starting time. For instance, cool-season crops such as lettuce, broccoli, and cabbage can be started indoors earlier, while warm-season crops like tomatoes, peppers, and cucumbers require longer growing seasons and should be started later.
- Read the Seed Packets: Each seed packet will tell you when to start your seeds indoors and when to transplant them outdoors. The packet will also indicate whether the plant should be directly sown outdoors (e.g., beans) or whether it’s better started indoors. Many plants, such as tomatoes, peppers, and some herbs, need to be started indoors because they need more growing time than your local climate may provide.
- Use Reliable Sources: Invest in high-quality seeds from reputable suppliers. Opt for non-GMO, organic seeds if that aligns with your preferences. Healthy, viable seeds are essential for strong seedlings, so be sure you’re purchasing from trusted brands or local nurseries with a good reputation.
Tip: A general rule of thumb for when to start seeds indoors is 6-8 weeks before your last expected frost date. Check your local frost dates and plan accordingly.
2. Selecting the Right Growing Medium
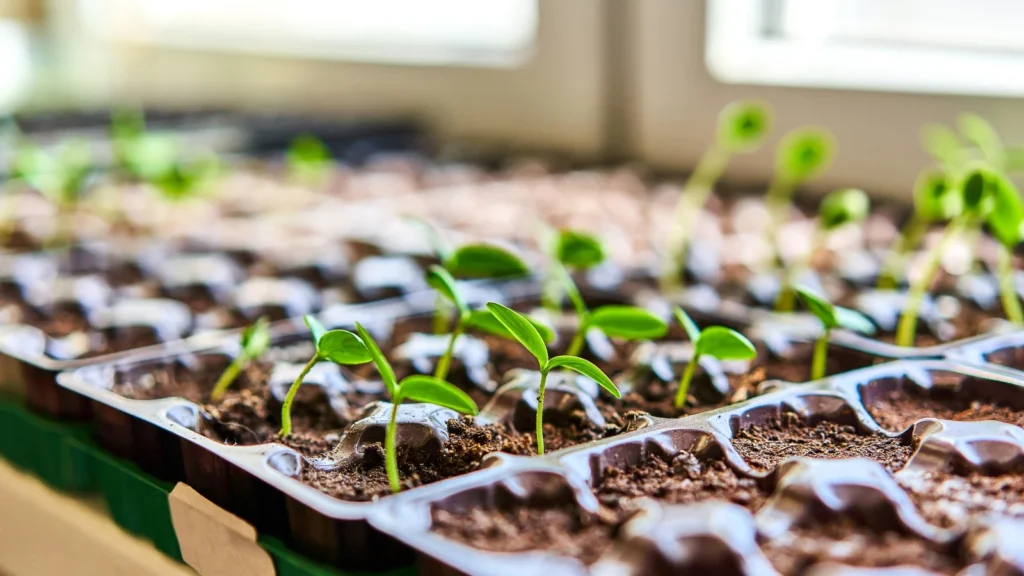
The soil you use for starting seeds indoors is more important than you might think. Most garden soils are too dense for young seedlings, which need light, fluffy, and well-draining soil. Here’s what you need to know:
- Use a Seed Starting Mix: Unlike potting soil, seed starting mixes are designed specifically to provide a light, airy medium for germinating seeds. They are typically made of peat moss, vermiculite, and perlite, and are formulated to retain just the right amount of moisture without becoming waterlogged. This is crucial because seeds need moisture to germinate but too much water can cause them to rot.
- Avoid Regular Garden Soil: Garden soil is usually too heavy and compact for seeds. It may contain pathogens, insects, or weed seeds, which can inhibit the growth of your seedlings. Furthermore, it may not provide proper drainage for delicate seedlings.
- Sterilize Your Soil: If you’re making your own seed-starting mix or using soil you have around your house, it’s a good idea to sterilize it before use. You can bake it in the oven at 180°F (82°C) for about 30 minutes to kill off any unwanted pathogens, fungi, or pests that might harm your seeds.
- Maintain Moisture Levels: The growing medium should be kept consistently moist but not soggy. Before planting your seeds, lightly water the soil, and ensure that it stays damp until germination. Use a spray bottle or watering can with a fine nozzle to avoid displacing seeds.
Tip: For plants that need extra light, consider adding a bit of extra perlite to the soil mix to enhance drainage, especially if you plan to use trays with no drainage holes.
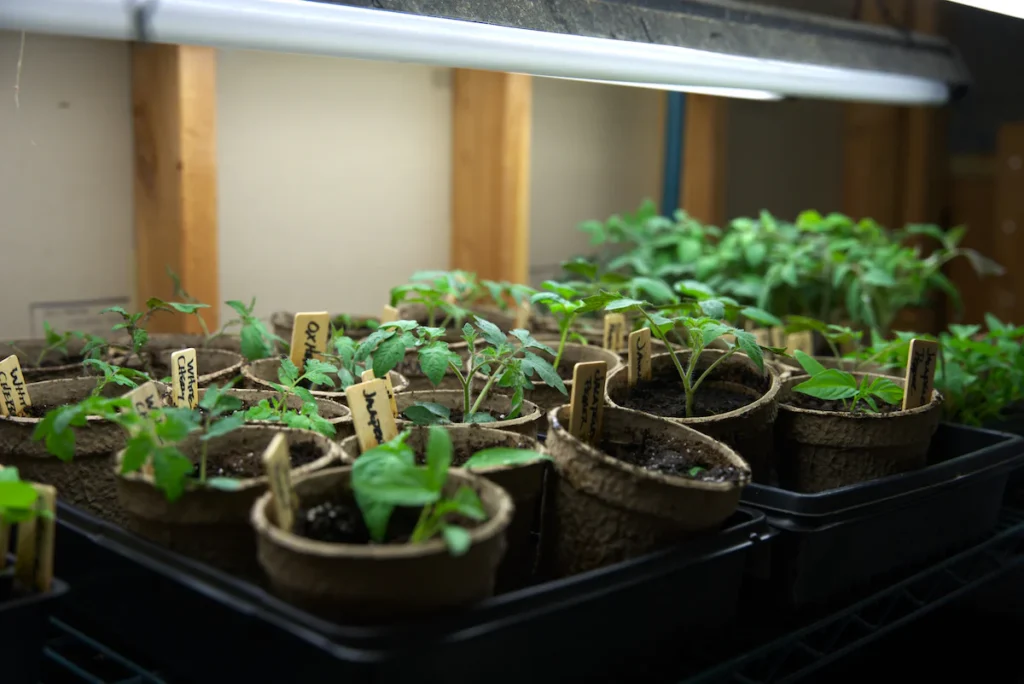
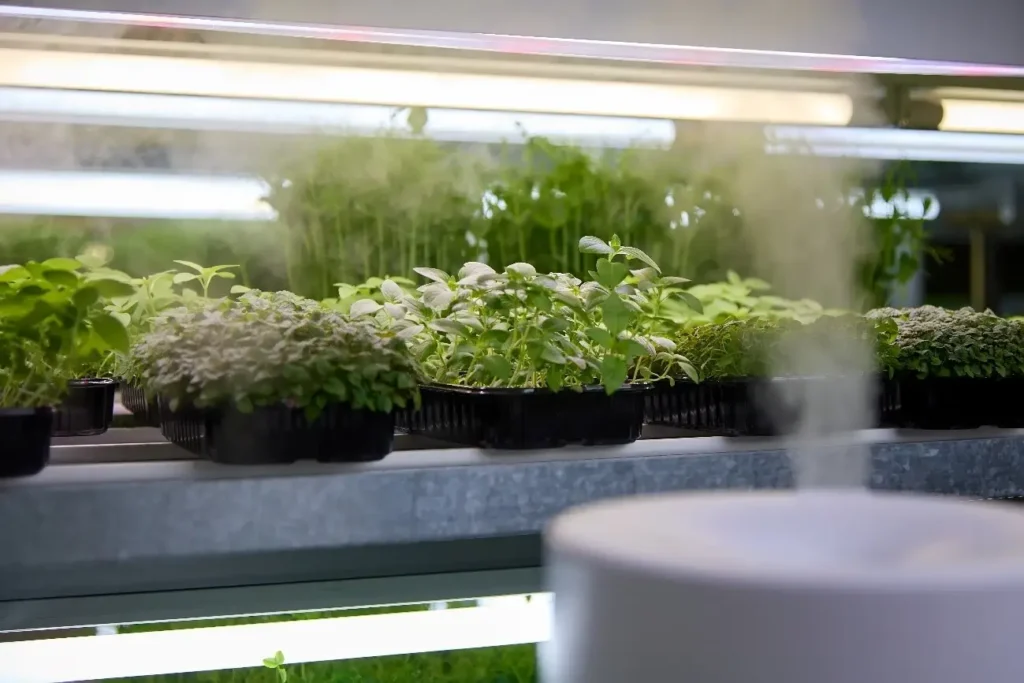
3. Providing Proper Light
Light is the most crucial element in successfully starting seeds indoors. Without the proper light, your seedlings will become leggy (tall and spindly with weak stems), which can cause them to grow slowly and become unhealthy. Here’s how to get it right:
- Natural Light: While you might think a sunny windowsill is enough, it’s usually not sufficient for most seeds. Even south-facing windows often provide too little light, especially in early spring. If your indoor space lacks strong natural sunlight, you’ll need to supplement with artificial light.
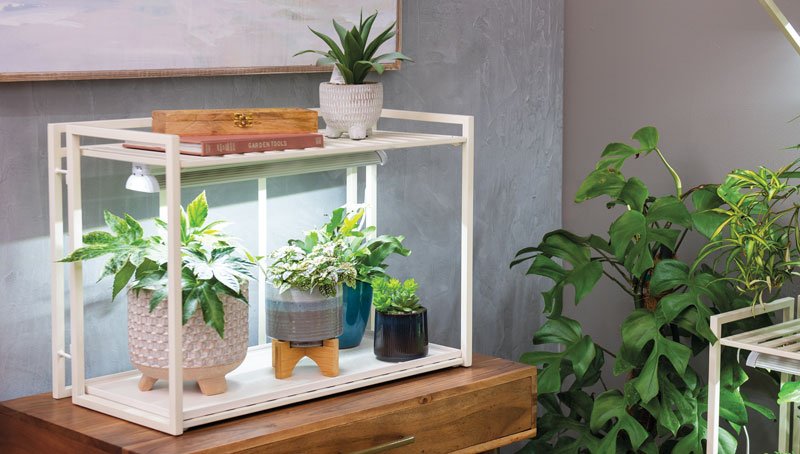
- Artificial Grow Lights: To create an optimal environment, use full-spectrum grow lights. These lights provide the right balance of light intensity and spectrum for healthy seedling growth. Two types of grow lights commonly used are:
- Fluorescent Lights: These lights are relatively inexpensive and provide good light for seedlings. T5 and T8 fluorescent tubes are good choices. Place them 2-4 inches above the seedlings and keep them on for 12-16 hours each day.
- LED Grow Lights: LED lights are more energy-efficient than fluorescent bulbs and last longer. They can provide the right spectrum of light for seedlings and are especially useful if you have limited space.
- Keep the Lights Close: Keep your grow lights close to the seedlings (within 2-4 inches) to prevent them from getting leggy. As the seedlings grow taller, gradually raise the lights to keep them at an appropriate distance.
- Light Duration: Seedlings require about 12-16 hours of light per day. It’s important to mimic the natural progression of daylight, so a timer for your grow lights is a great idea.
Tip: If you’re starting a variety of plants, consider grouping them according to their light needs. Some plants, like tomatoes, need intense light, while others like leafy greens can thrive with slightly less light.
4. Controlling Temperature and Humidity
Temperature and humidity play a critical role in the success of your seedlings. If the conditions aren’t right, germination can be delayed, or your seedlings may grow weak and unhealthy.
- Ideal Temperature Range: Most seeds germinate best in temperatures between 65°F to 75°F (18°C to 24°C). This range provides the warmth needed for seed germination. Some plants, like peppers, prefer a slightly warmer environment. On the other hand, cool-weather crops like lettuce and kale prefer a cooler range of around 60°F to 65°F (15°C to 18°C). Check your seed packets for specific temperature requirements.
- Using a Heat Mat: If your indoor space tends to be cooler, consider using a heat mat under your seed trays. These mats provide gentle bottom heat, creating the warm environment seeds need for germination. Keep in mind that excessive heat can harm seeds, so don’t use a heat mat for too long once your seeds have germinated.
- Humidity Control: Seeds need high humidity levels to germinate, but once they sprout, humidity levels should be reduced to prevent fungal diseases like damping-off. During germination, cover seed trays with clear plastic domes or humidity domes. After germination, remove the covers gradually and increase airflow.
Tip: A small hygrometer (humidity meter) can help monitor moisture levels. Aim for around 50-70% humidity during germination, but once seedlings emerge, reduce it to around 40-50%.
5. Hardening Off Seedlings Before Transplanting Outdoors
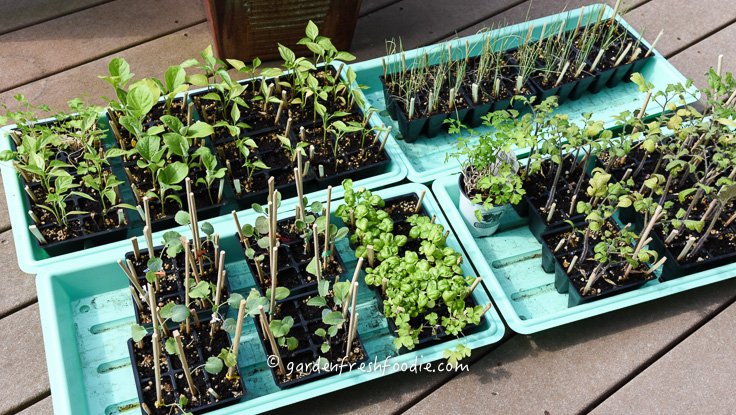
Once your seedlings have grown large enough and the weather has warmed, it’s time to move them outdoors. However, before you plant them directly into your garden, it’s crucial to acclimate them to the harsher outdoor conditions through a process called “hardening off.”
- Gradual Exposure: Hardening off involves gradually exposing your seedlings to outdoor conditions, such as wind, direct sunlight, and fluctuating temperatures. This prevents transplant shock, which can occur when seedlings are suddenly exposed to outdoor conditions after being nurtured indoors in a controlled environment.
- Start Slowly: Begin by placing your seedlings outside in a shaded, sheltered area for a few hours each day. Gradually increase the exposure to direct sunlight over the course of 7-10 days. If temperatures drop at night, bring the seedlings inside or cover them with a frost cloth.
- Watch for Stress: Monitor your seedlings for signs of stress, such as wilting, yellowing leaves, or sunburn. If the seedlings appear to be struggling, move them to a more sheltered location and reduce the time they spend outside each day.
Tip: Don’t harden off seedlings during the hottest part of the day or when the weather is particularly windy. Try to choose mild days to begin the hardening process.
Conclusion
Starting seeds indoors is a rewarding way to extend your growing season, increase your plant variety, and take full control of your garden’s success. By following these five tips—choosing the right seeds, using a quality growing medium, providing proper light and temperature, and hardening off your seedlings—you can give your seeds the best chance to thrive and grow into healthy, productive plants.
Seed starting might take a little extra effort compared to purchasing young plants from a nursery, but the rewards of growing your own crops from scratch are immeasurable. Whether you’re growing your favorite vegetables, herbs, or flowers, starting seeds indoors is a great way to connect with the gardening process and enjoy the fruits of your labor all season long. Happy gardening!